

Hands under your shoulders. Legs straight behind you. Chest heading for the floor. Then your arms quit about halfway down.
If that sounds familiar, you're not alone. A push-up looks simple but it needs your chest working with your shoulders. Your arms and core have to join in while the whole body stays rigid.
If a full floor push-up is too difficult right now, wall and incline variations offer a more manageable starting point. They let you practise the same pressing action with less resistance. Control and strength build up over time and the full push-up slowly comes into reach.
Expensive equipment is unnecessary. A stable surface and some patience will do along with a routine you can repeat.
Why Are Push-Ups Hard for Beginners?
A standard push-up asks you to move a large share of your body weight. A light dumbbell can be swapped for a lighter one when it feels heavy but your own body offers no such option.
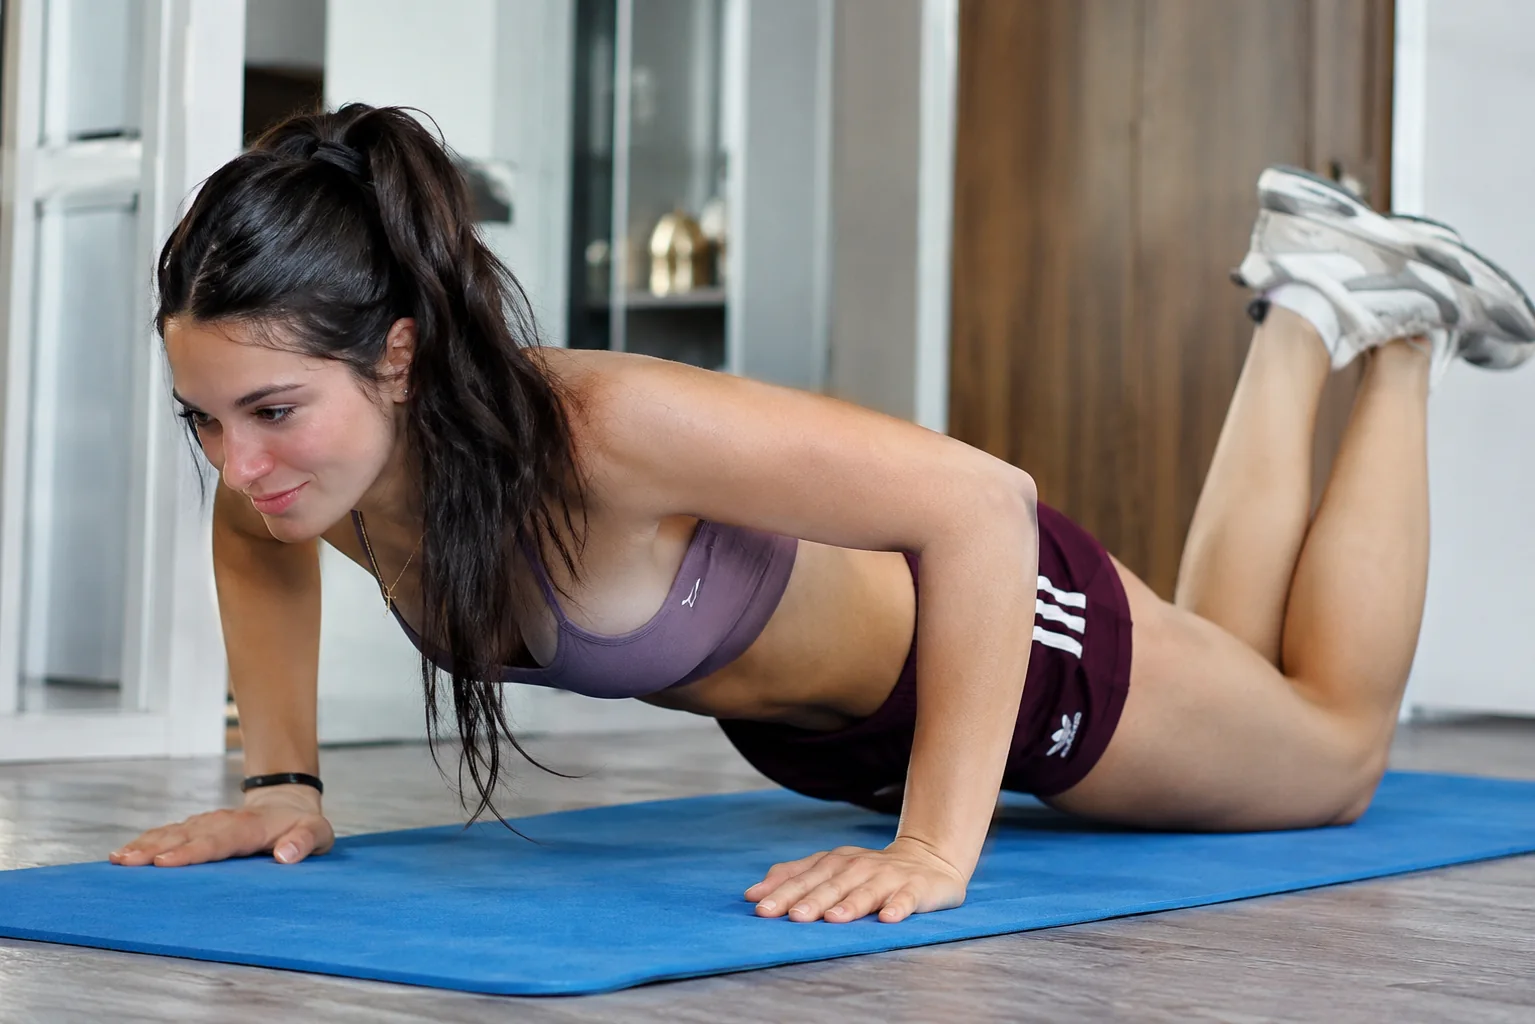
Your chest muscles supply much of the pressing force. Triceps straighten the elbows while the shoulders help with movement and stability. Meanwhile your abdominal muscles and other trunk muscles stop your hips from dropping.
All of that happens inside a single repetition.
Regular walkers and cyclists can have excellent cardiovascular endurance and still struggle here. Those activities do not necessarily prepare the upper body for this particular movement. A hard time with push-ups simply shows that your strength and control for this exercise are still developing. Both improve with practice.
How to Do a Push-Up With Proper Form
Before you count any reps it helps to know what a controlled push-up feels like.
Set your hands roughly shoulder-width apart or slightly wider. Straighten your legs behind you. Your head and shoulders should sit in a reasonably straight line with your hips and your heels. Brace your abdomen gently as if you were about to hold a plank.
Bend your elbows and lower yourself slowly. They should travel at a comfortable angle rather than spreading straight out to the sides. Go down only as far as you can with alignment intact and no pain. Then press through your hands until your arms straighten again.
Breathe in on the way down and out on the way up.
Control over the whole movement is the real target. Sagging hips or arms that cannot support you comfortably mean it is time for an easier variation.
Step 1: Start at the Wall
Wall push-ups make a friendly entry point since you stay standing the whole time.
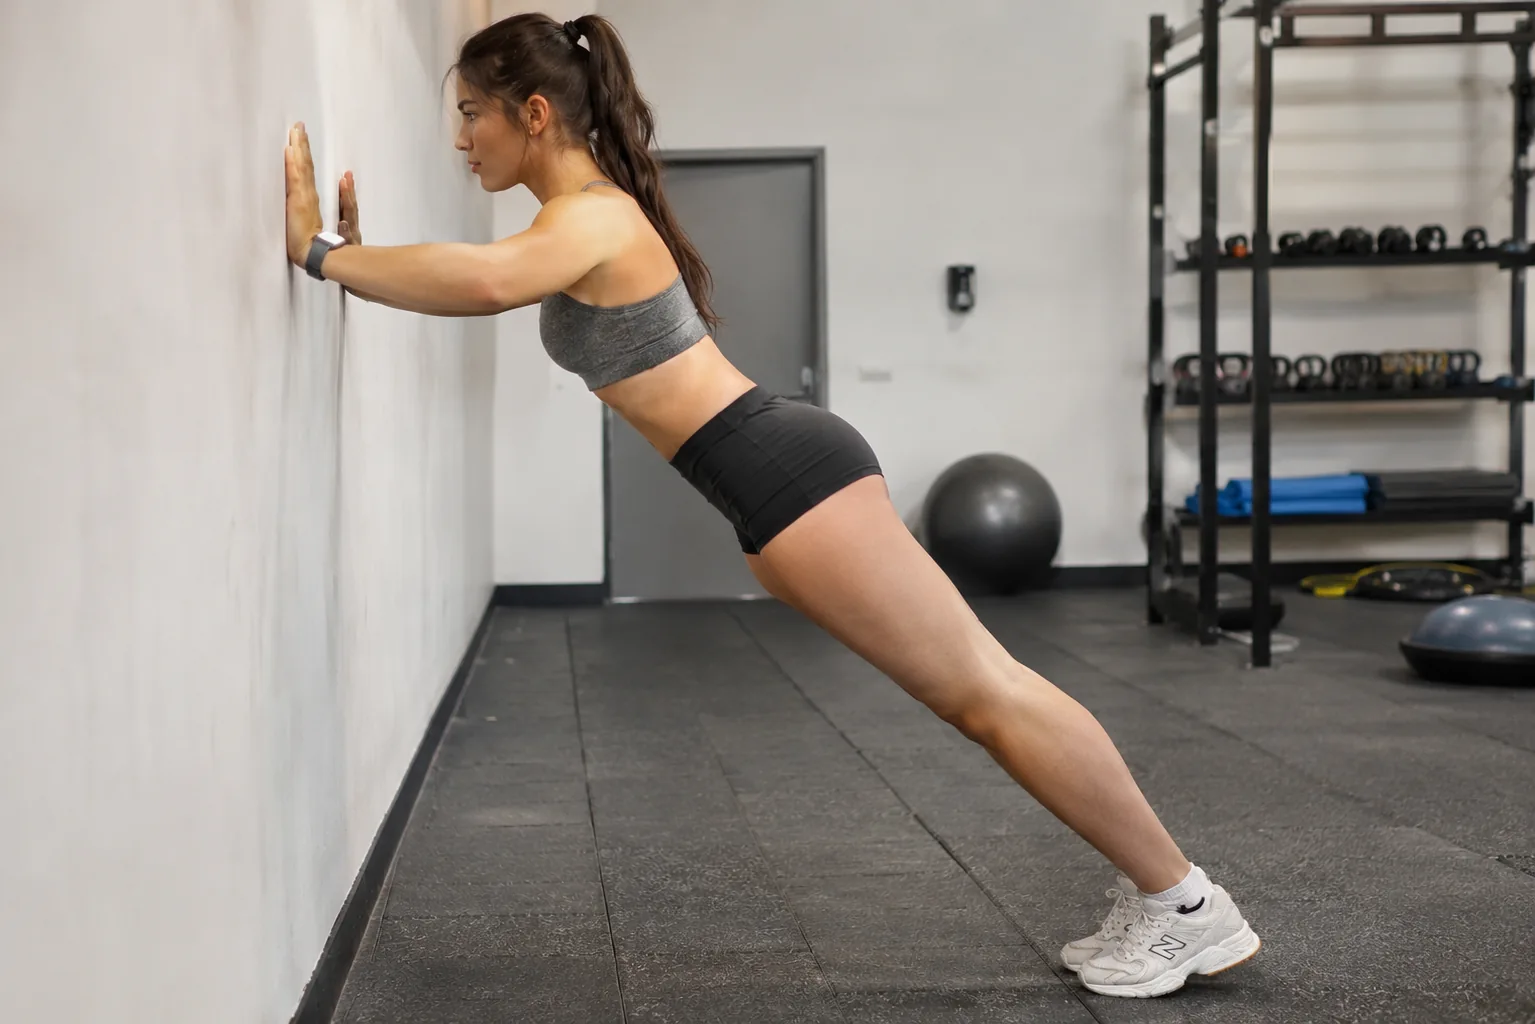
Face a solid wall and press your palms against it at about chest height with your hands around shoulder-width apart. Walk your feet backward until your arms extend comfortably. Bend your elbows to bring your chest toward the wall and then push back to the start. Your hips should travel together with your shoulders.
Two sets of five to eight controlled repetitions is a good opening. Fewer is fine when that feels hard. Once the movement settles you can add reps or shift your feet back a little to make it slightly tougher.
You are learning the pressing motion at this stage. There's no need to exhaust your arms.
Step 2: Progress to Incline Push-Ups
A secure kitchen counter or a firmly fixed exercise platform can serve as your elevated surface. Lightweight furniture and rolling chairs are out. So is anything else that might slide.
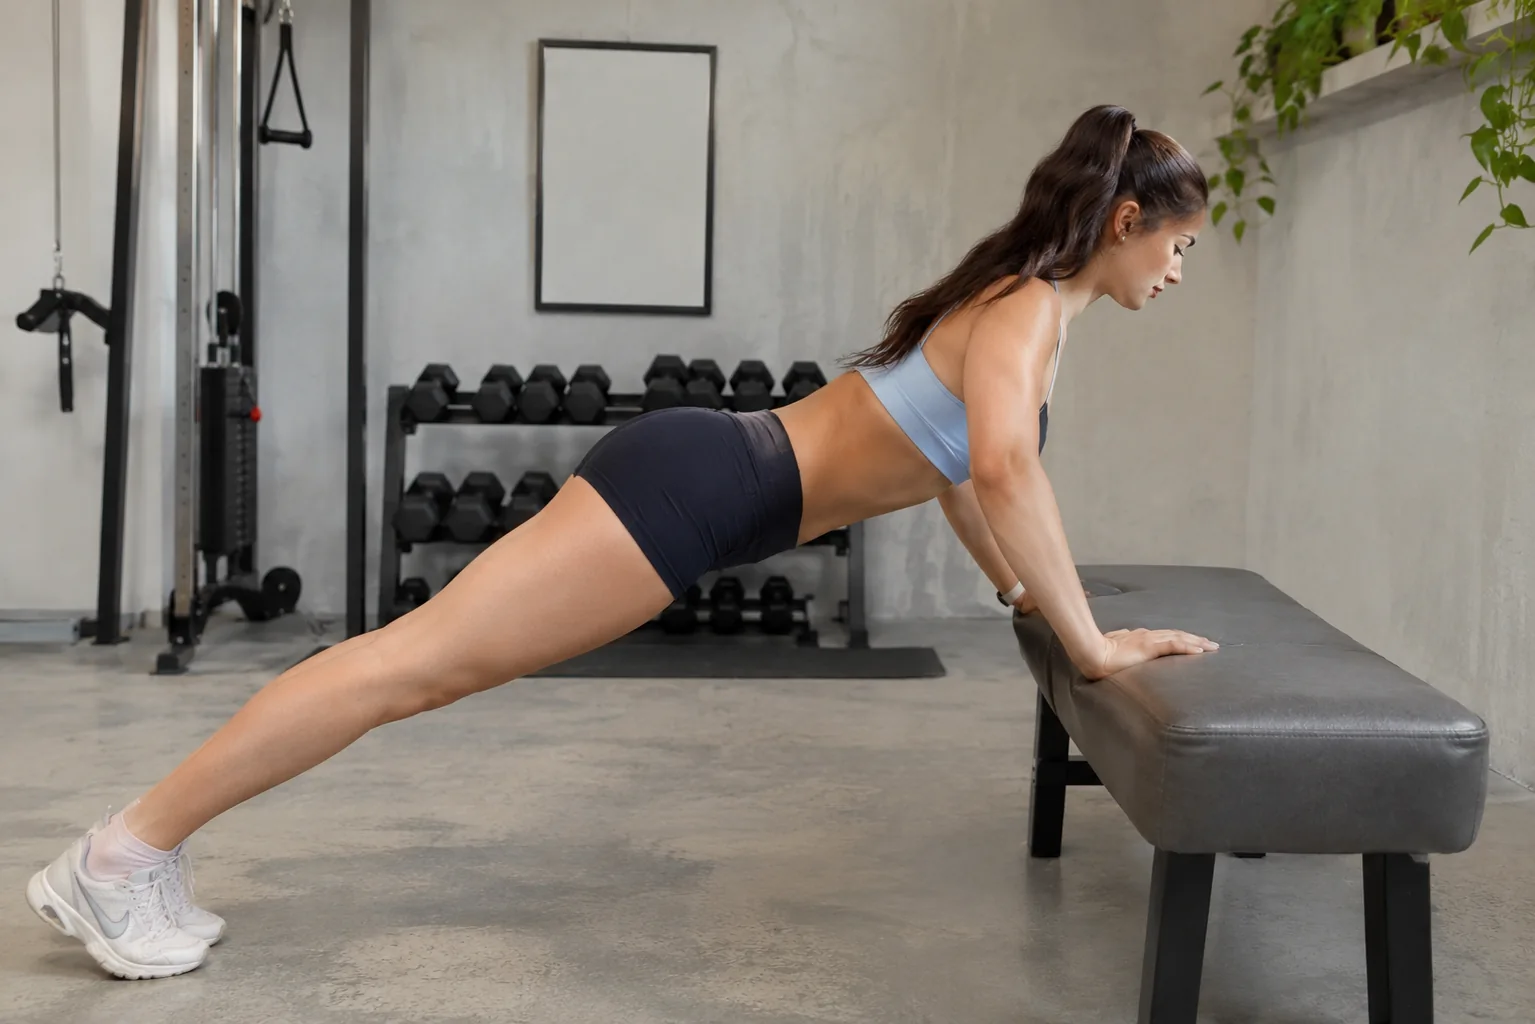
Put your hands on the surface and walk your feet back until your body forms a straight line. Lower your chest toward your hands and press up again. Hands sitting higher than your feet means the exercise takes less pressing effort than a standard floor push-up.
Surface height plays a major role in difficulty, along with body position and technique. A higher surface generally makes things easier and a lower one raises the challenge. Choose a height that gives you about five to ten comfortable repetitions with no sagging in the hips.
Once several sets feel controlled you can try a slightly lower surface that is just as stable. There is no need to hurry through the different heights.
For a broader approach to developing strength and endurance our guide to training like an athlete explores how different physical abilities can be developed together.
Step 3: Knee Push-Ups Are Optional
Some people skip knee push-ups entirely and that works.
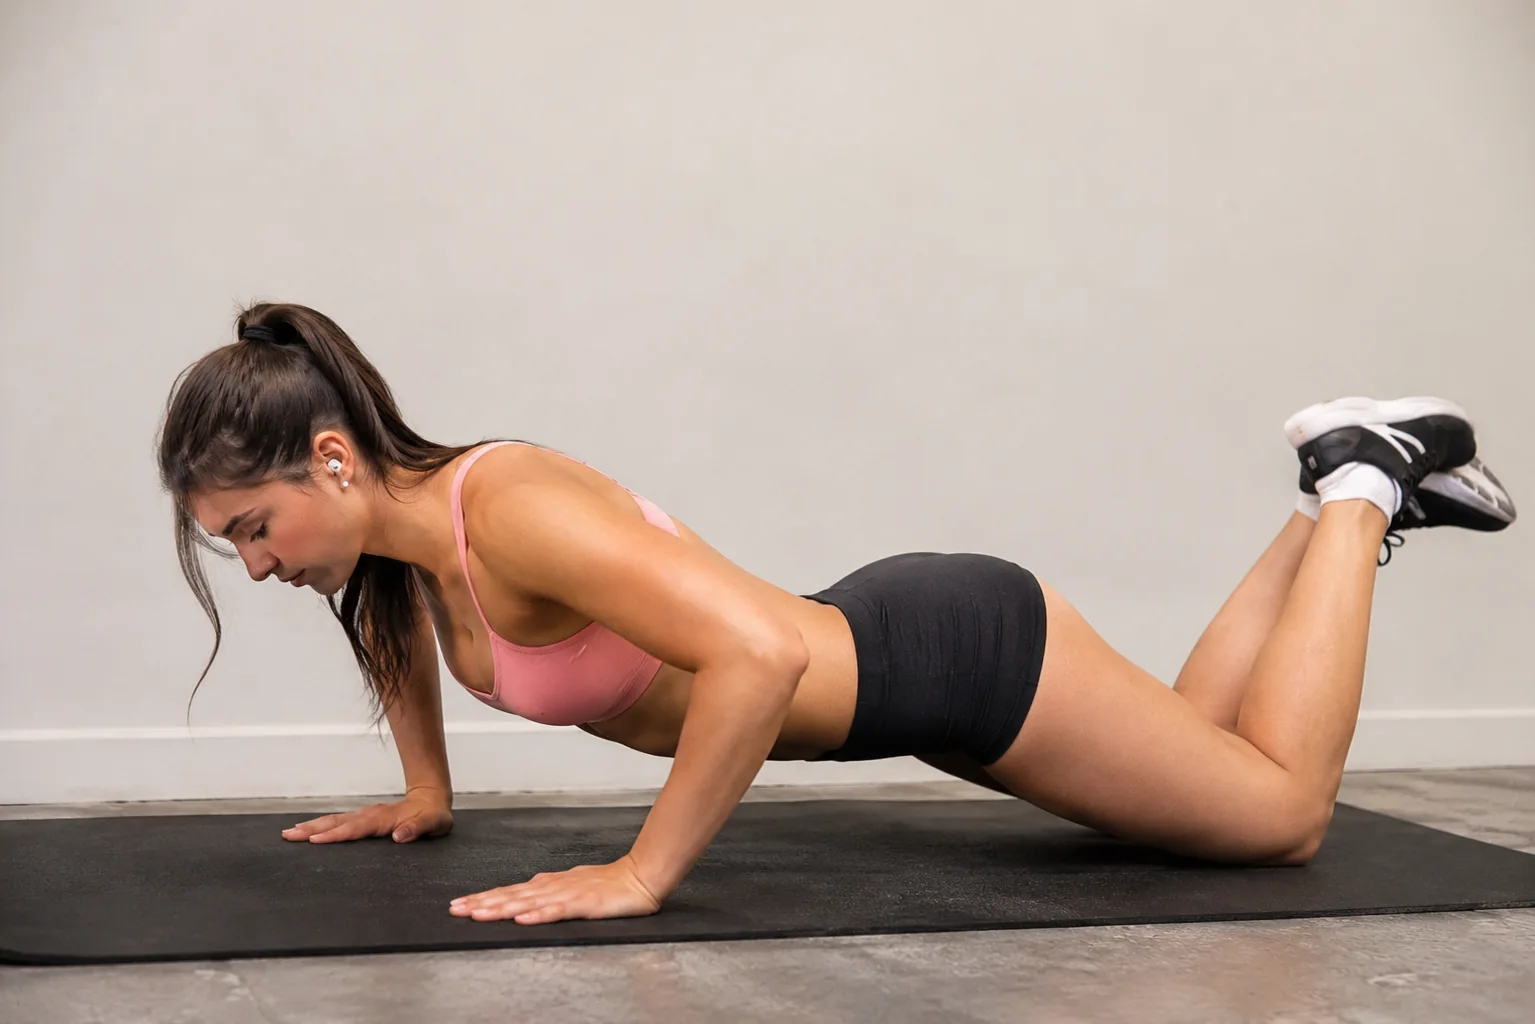
Start with your knees on a comfortable exercise mat and your hands slightly wider than your shoulders. Keep your shoulders in line with your hips. Your knees stay in that line too as you lower your chest toward the floor. Press up without letting your lower back collapse.
Some beginners find this easier than a low incline push-up. Others feel better sticking with elevated surfaces. Either route builds the pressing movement.
Whichever one lets you use cleaner technique without discomfort is the one to pick. A few controlled repetitions make a fine starting point.
Step 4: The First Full Push-Up Attempt
After a while your incline push-ups will start to feel noticeably easier. That is a reasonable moment to test a standard floor push-up.
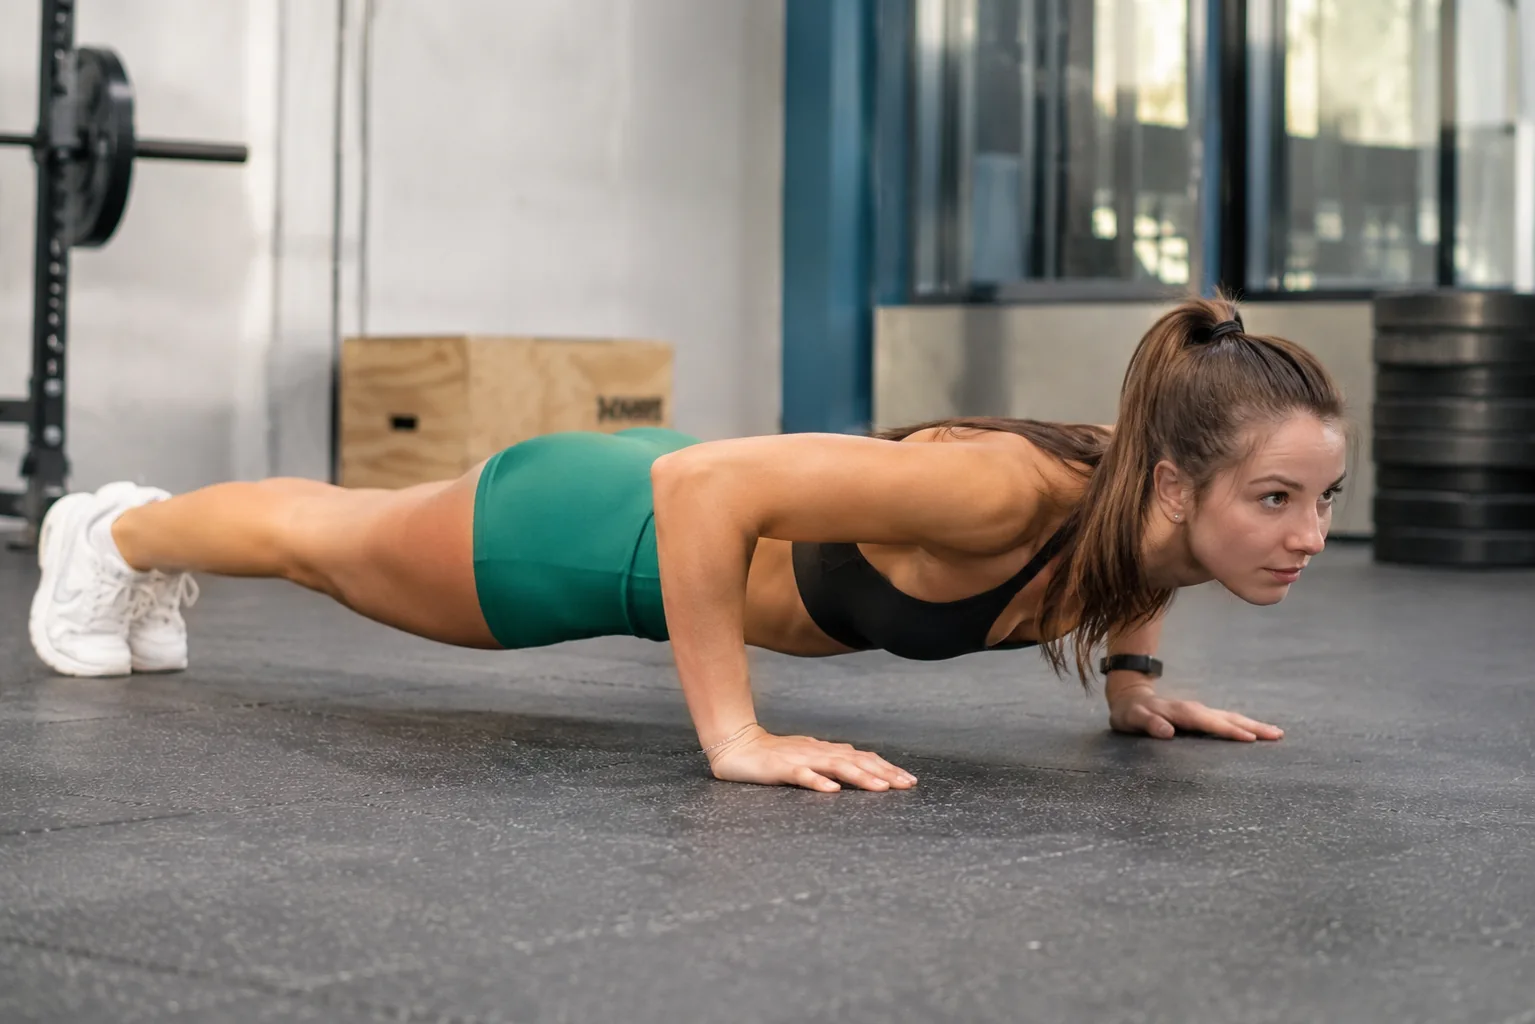
Get into a high plank with your hands firmly planted and your legs extended behind you. Lower yourself slowly through a controlled, comfortable range of motion. Then press back to the starting position. If you complete the repetition without losing alignment, you've performed a proper push-up.
Stalling halfway tells you something useful as well. Go back to your current variation and keep building strength. Another option is practising only the lowering part of a floor push-up and returning to the start on your knees as long as the lowering stays safe.
One good repetition counts for more than five rushed ones. Forcing another attempt with exhausted arms proves nothing.
Four-Week Push-Up Plan for Beginners
A routine makes practice simpler when you are starting from zero. This sample plan has two sessions each week with recovery time between them.
| Week | Main exercise | Suggested practice |
|---|---|---|
| 1 | Wall push-ups | 2 sets of 5 to 8 reps |
| 2 | Wall or high-incline push-ups | 2 sets of 6 to 10 reps |
| 3 | Incline push-ups | 2 to 3 sets of 5 to 10 reps |
| 4 | Lower incline or optional knee push-ups | 2 sets of comfortable reps |
These numbers are only starting suggestions. Another week at the same level is perfectly fine and some people need considerably longer than four weeks to complete a full floor push-up.
Rest between sets until you can repeat the movement with proper control. Recovery days belong between sessions and the difficulty should drop whenever your technique starts to deteriorate. The plan exists to build a repeatable habit and promises no particular result by any deadline.
Mistakes that make it harder than it needs to be
Beginners often make the exercise tougher than it has to be.
Hips that drop make control harder because the lower back sags. A higher incline helps with that and so does a gentle core brace.
Elbows flaring too far outward is another common one. Keep them travelling at a comfortable angle closer to your sides.
Your head should never reach the wall or floor ahead of the rest of your body. A neutral neck takes care of it.
Fast reps hide poor technique so slow down enough to control both the lowering and the pressing phases.
Anything that could tip over or slide away should stay out of your routine.
Muscle effort is expected. Sharp wrist or elbow or shoulder pain deserves a stop. Persistent discomfort calls for ending the exercise and getting appropriate professional guidance.
How often to practise
Two nonconsecutive strength-training sessions per week make a sensible starting point for many beginners. Other exercises can share those sessions. Repeatedly exhausting the same muscles just to raise your push-up count is a bad idea.
Rest matters because your body needs time to recover from training. As you gain experience you can adjust frequency and difficulty to fit your goals and recovery.
Daily push-ups are unnecessary for progress.
If you are deciding whether home workouts suit your goals our Pilates vs Gym comparison offers a useful look at different exercise approaches.
How to Know Your Push-Ups Are Improving
The first floor push-up is only one marker. Ten wall push-ups where you once managed five count as progress. A lower incline that feels comfortable counts too. So does a body that stays steadier through each repetition.
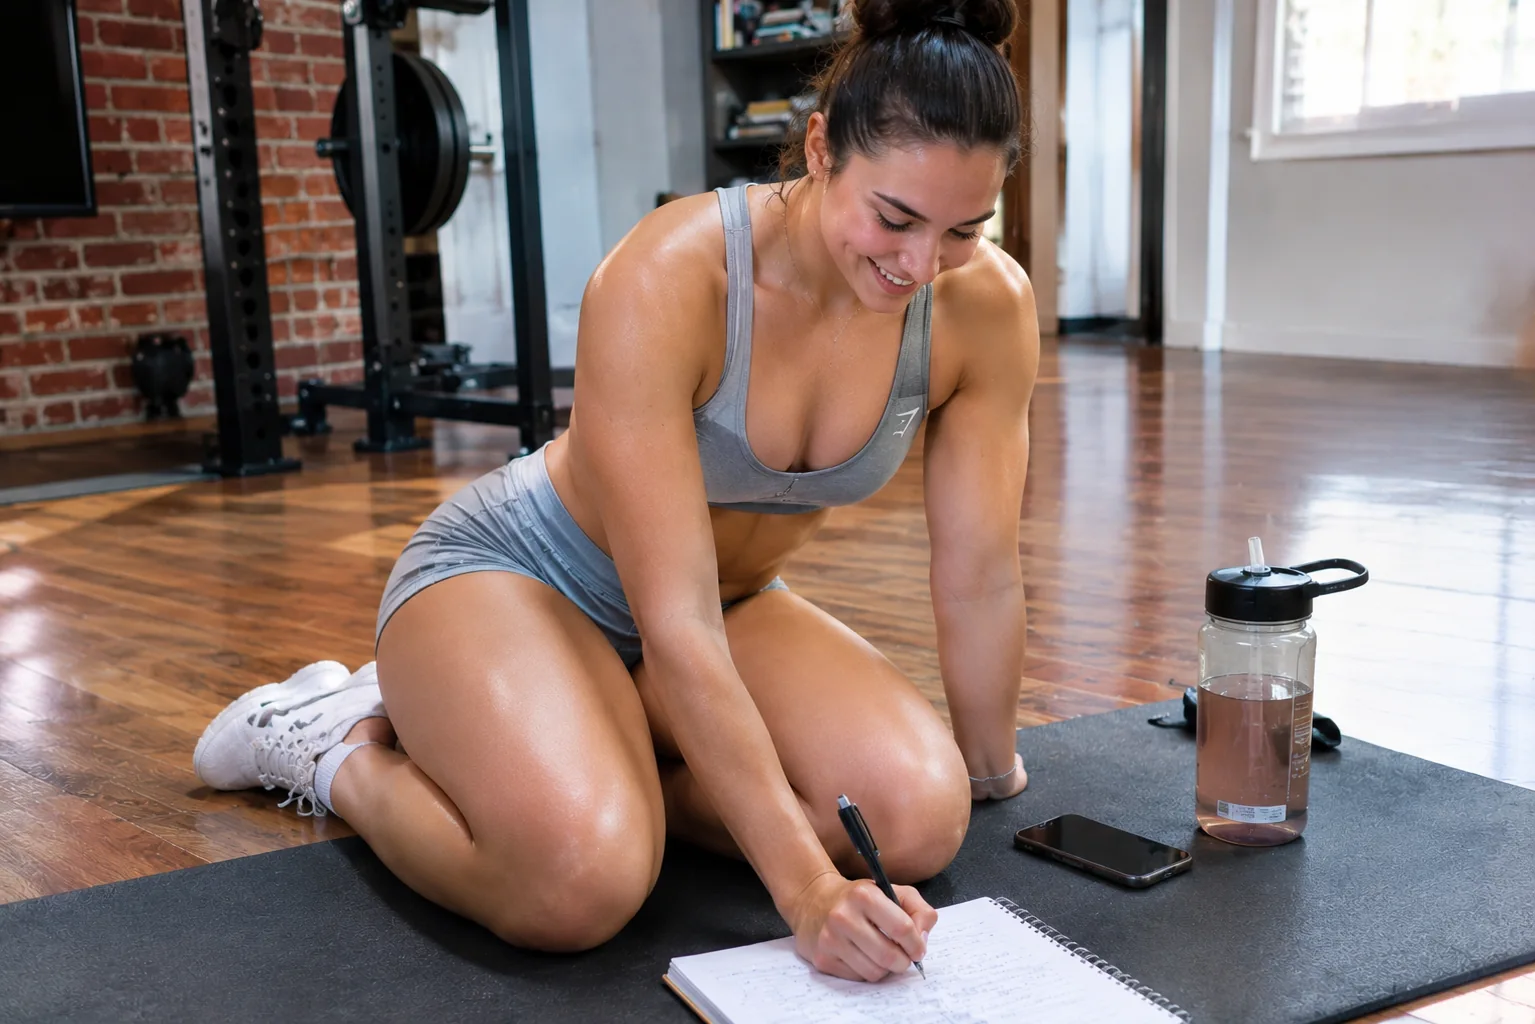
Write down your exercises. Add the repetitions and the surface height. Compare sessions every couple of weeks under similar conditions.
Your strength may well be rising before you can finish a full push-up.
Frequently Asked Questions
Can I learn push-ups if I cannot do even one?
Yes. Wall push-ups and incline variations let you practise the movement with reduced resistance. Steady gains in strength and technique can carry you toward a standard push-up.
Are wall push-ups effective for beginners?
They help with learning pressing technique and building initial strength. Once they feel easy a suitable incline offers a greater challenge.
Should I start with knee push-ups or incline push-ups?
Either can work. Incline push-ups let you adjust difficulty through surface height while knee push-ups lower the resistance by changing your body position. Choose the one that gives you better control.
How long does it take to do your first push-up?
No universal timeline exists. Some beginners progress within several weeks while others take longer. Starting strength and training consistency and recovery all affect the pace.
Do I need gym equipment to learn push-ups?
No. A wall and a secure elevated surface along with enough floor space cover a basic beginner progression.
Easier versions come first
A proper floor push-up can feel far away when your arms struggle through the first attempt. Progress starts with choosing a version you can control.
Practise against a wall and move to an incline when you are ready. Add repetitions while keeping your technique intact and give yourself enough recovery between sessions. A movement that once felt impossible may eventually feel manageable.
Start with the version you can perform well today and leave your first full push-up for later.



Comments
0 discussionsAdd your perspective, reply to other readers, and keep the conversation useful.
Conversation
Reader responses